The creation of applications will change with APP Packaging that will ship with release 7 planned for 2023. Here, we will use the term Process instead of APP because previous versions of WEHOOP were mainly based on the creation and implementation of processes (workflow) within companies.
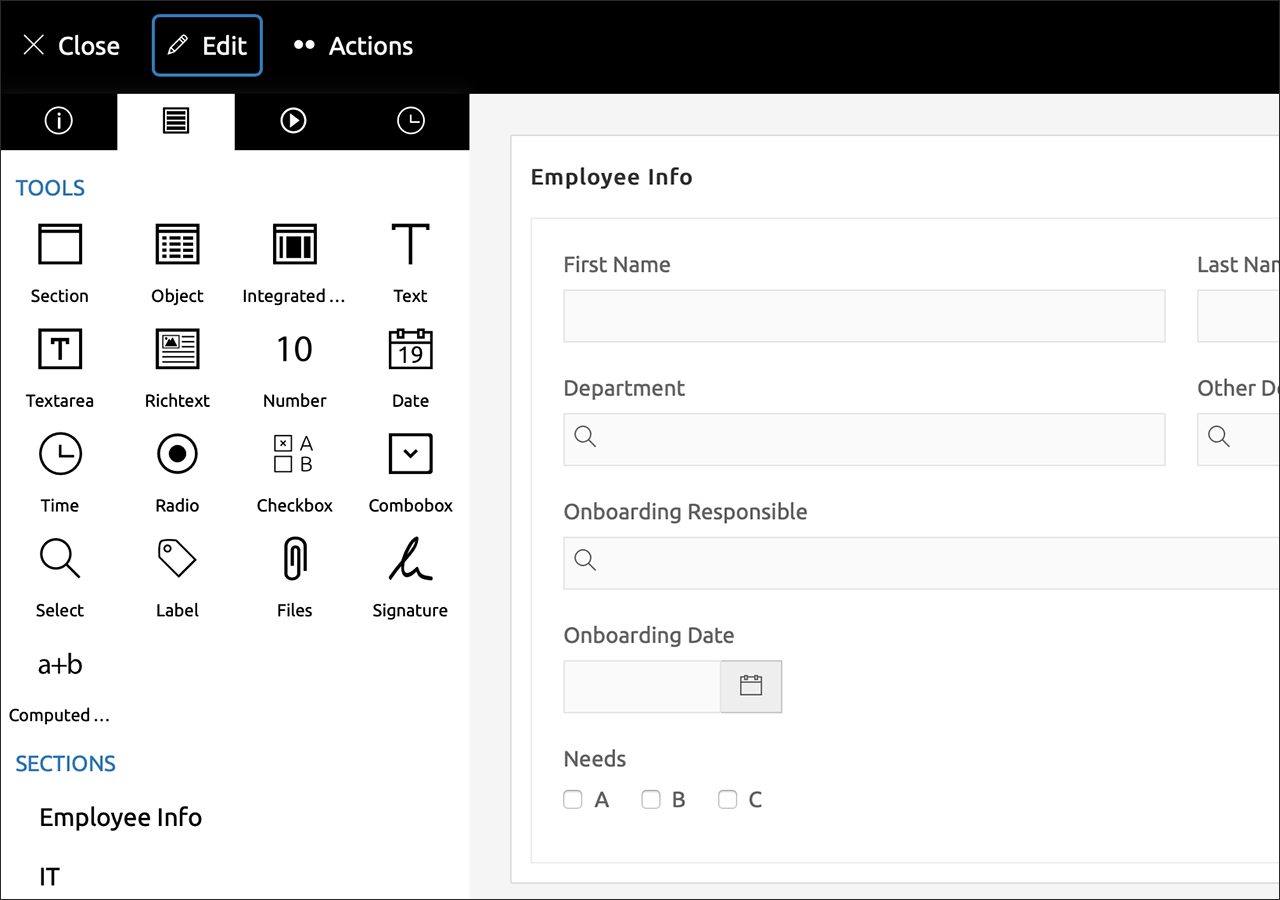
What is the Studio?
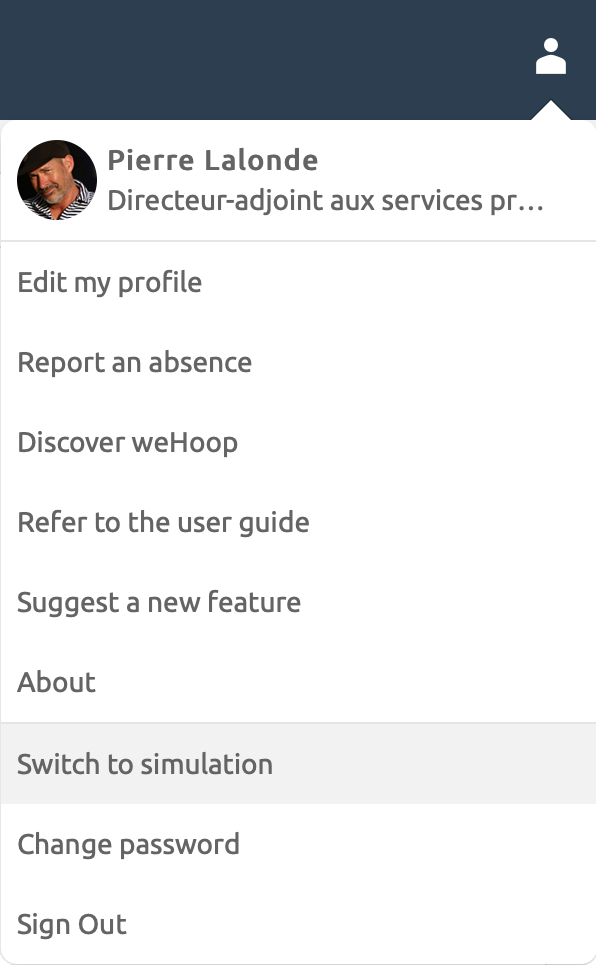
The WEHOOP Studio allows the designer (people with access to creating applications, processes and other elements) to design, test, deploy and review applications on the WEHOOP platform.
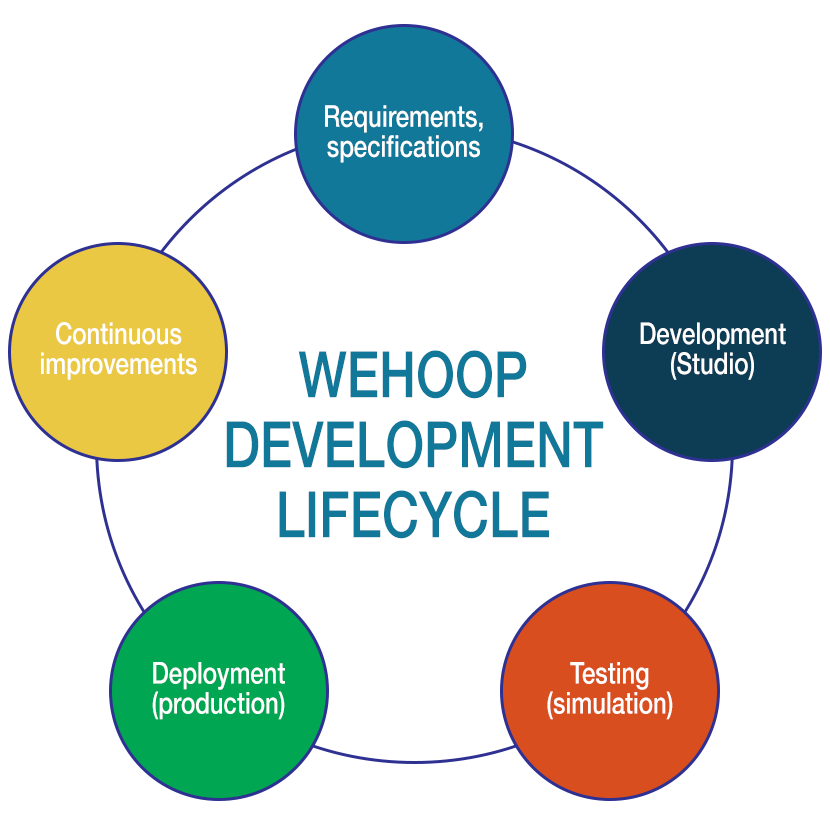
Development Lifecycle
The WEHOOP application development lifecycle consists of a series of steps to develop, test, deploy and enhance a specific application. The life cycle defines a methodology to improve the quality of an application and the overall development process.
This lifecycle start with the client requirements.
1. Customer’s need
The majority of applications begin with the need to set up a process (workflow) to solve an operational or management problem. At this stage we will identify the requirements, the people involved (actors), the data to be managed, the current process (if any), the reports or statistics (outputs) requested.
All this information will allow us to determine the specifications of our application.
2. Development
The development of an application is done quickly. It will consist of a process and its form, and possibly several other components available on the platform such as:
Workspace, List of values, Graphs and statistics, Reports, Views, etc.